It was a "Snowball Snowglobe"!

Here are the Supplies needed for the craft:

Two 8 or 9 inch blue paper plates
(I searched until I found plates with blue on top and white on bottom)
5 inch circle template
Pencil
Scissors
6 inch circle of clear plastic
(I will give you suggestions for this in the directions below)
Tacky glue
White glitter paint
Paintbrush
Styrofoam bowl
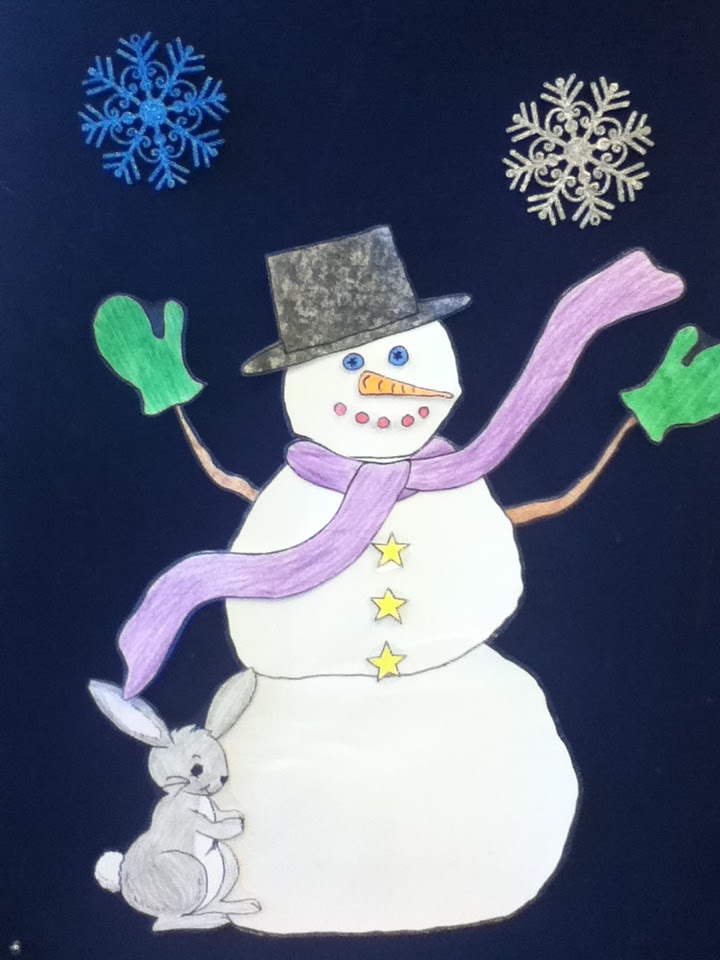
Snowman shape
(Several suggestions shared below)
Snowflake stickers
Iridescent confetti
Black sharpie
(Not pictured)
White ribbon
(Not pictured)
White ribbon
(Not pictured)
Directions:
1. Paint the bottoms of both plates with the glitter glue and let dry. (This step can be skipped if you don't have glitter paint and/or your library does not allow painting during your programs.)


Heads Up:
The next few steps should be done by an ADULT.
3. Carefully poke a hole in the center of the plate with a pair of sharp scissors.

4. Then cut from the center hole to the drawn outline several times ~ forming an X.

5. Now cut closely to the inside of the circle until it is all removed. (At this point I cut very closely to the line but not on the line yet. This allows me the ability to cut a smoother edge in the next step.)

7. Finally, cut along the drawn line with smooth cuts.

Child-friendly steps again:

*How about that leftover clear plastic from toy packages
after your child opens Christmas presents
or birthday presents or just gets a new
toy because it looked so cool at the
store yesterday?
*How about those folders with the clear plastic covers
that you used for last year's budget report?
*How about a piece of Saran Wrap or part of a
gallon-sized Ziploc bag?
There are lots of options if you just take a look around. ;-) It is easier for the parent or caregiver who is sharing this craft with one or two children. If you are a preschool teacher or a children's librarian, you will have to think ahead and start collecting what you need for all the friends that you will be sharing this craft with. But don't despair! I am sure if you share your idea with a few of your parents then they will help you out. :-)
When gluing the clear circle to the inside of the top plate, be sure to spread the glue all around the edge. The opening needs to be completely sealed so that no confetti can escape when the project is finished.

9. It is now time for the snow! Using the Tacky glue, make a "snowdrift" at the bottom of the 2nd blue plate. Then, shake some iridescent glitter on top of the glue and gently press it down to help it stick. Shake off any excess onto a piece of scrap paper and save for later.


***Don't have any snowman stickers lying around:
*How about cutting out three snowballs from
construction paper and adding details with
crayons or markers?
*how about printing a snowman picture from the
internet, cutting it out, and gluing it on the plate?
*How about finding a small toy figure around the
house to glue to your snow scene?
Here again, there are lots of options if you just take a look around. ;-)


12. Final step is to add glue all around the edge of the plate. Don't be stingy with the glue! We want to make a complete seal all around the plate so that when we shake our Snowball Snowglobe to make it "snow", we don't want any snow to escape.

Ooops! Did I say final step? Well, it is ~ unless you want to be able to hang up your Snowball Snowglobe when you aren't using it. If you want to hang it up, then cut a piece of ribbon to about 4 inches in length. Fold it in half and glue to the bottom plate at the top of your snowglobe. Once it is dry, it can be hung anywhere.

Final Craft:

It's a blizzard!

This craft was made by a 4 year old.
She decided she wanted to add some bigger snowflakes to the outside of her snowball.
I love her creativity!

Another friend enjoying her snowball cookie while sharing her craft with me.

Hey, dude! Like my snowman?
(This friend is also 4 years old. If you look closely, he chose to make his snowman differently.
His choices can actually tell his teacher or parent a lot about his abilities in certain pre-reading/pre-math areas.)

I hope you will consider creating a Snowball Snowglobe with a young child in your life. If you do, please stop back by and share your thoughts and maybe even some pictures with me. I would love to see your child's version of a Snowball Snowglobe!
I have some thoughts on a ocean-themed version. Check back with me ~ I am thinking maybe an underwater bubble full of sand and ocean creatures...
HAPPY READING TOGETHER!